I still remember the first time I held a nail drill. My hands were shaking, I was terrified of hurting myself, and I was convinced I was going to file my nails down to nubs. But here‘s what I learned: a great nail drill isn’t about raw power. It‘s about control, patience, and learning to use the right bit the right way.
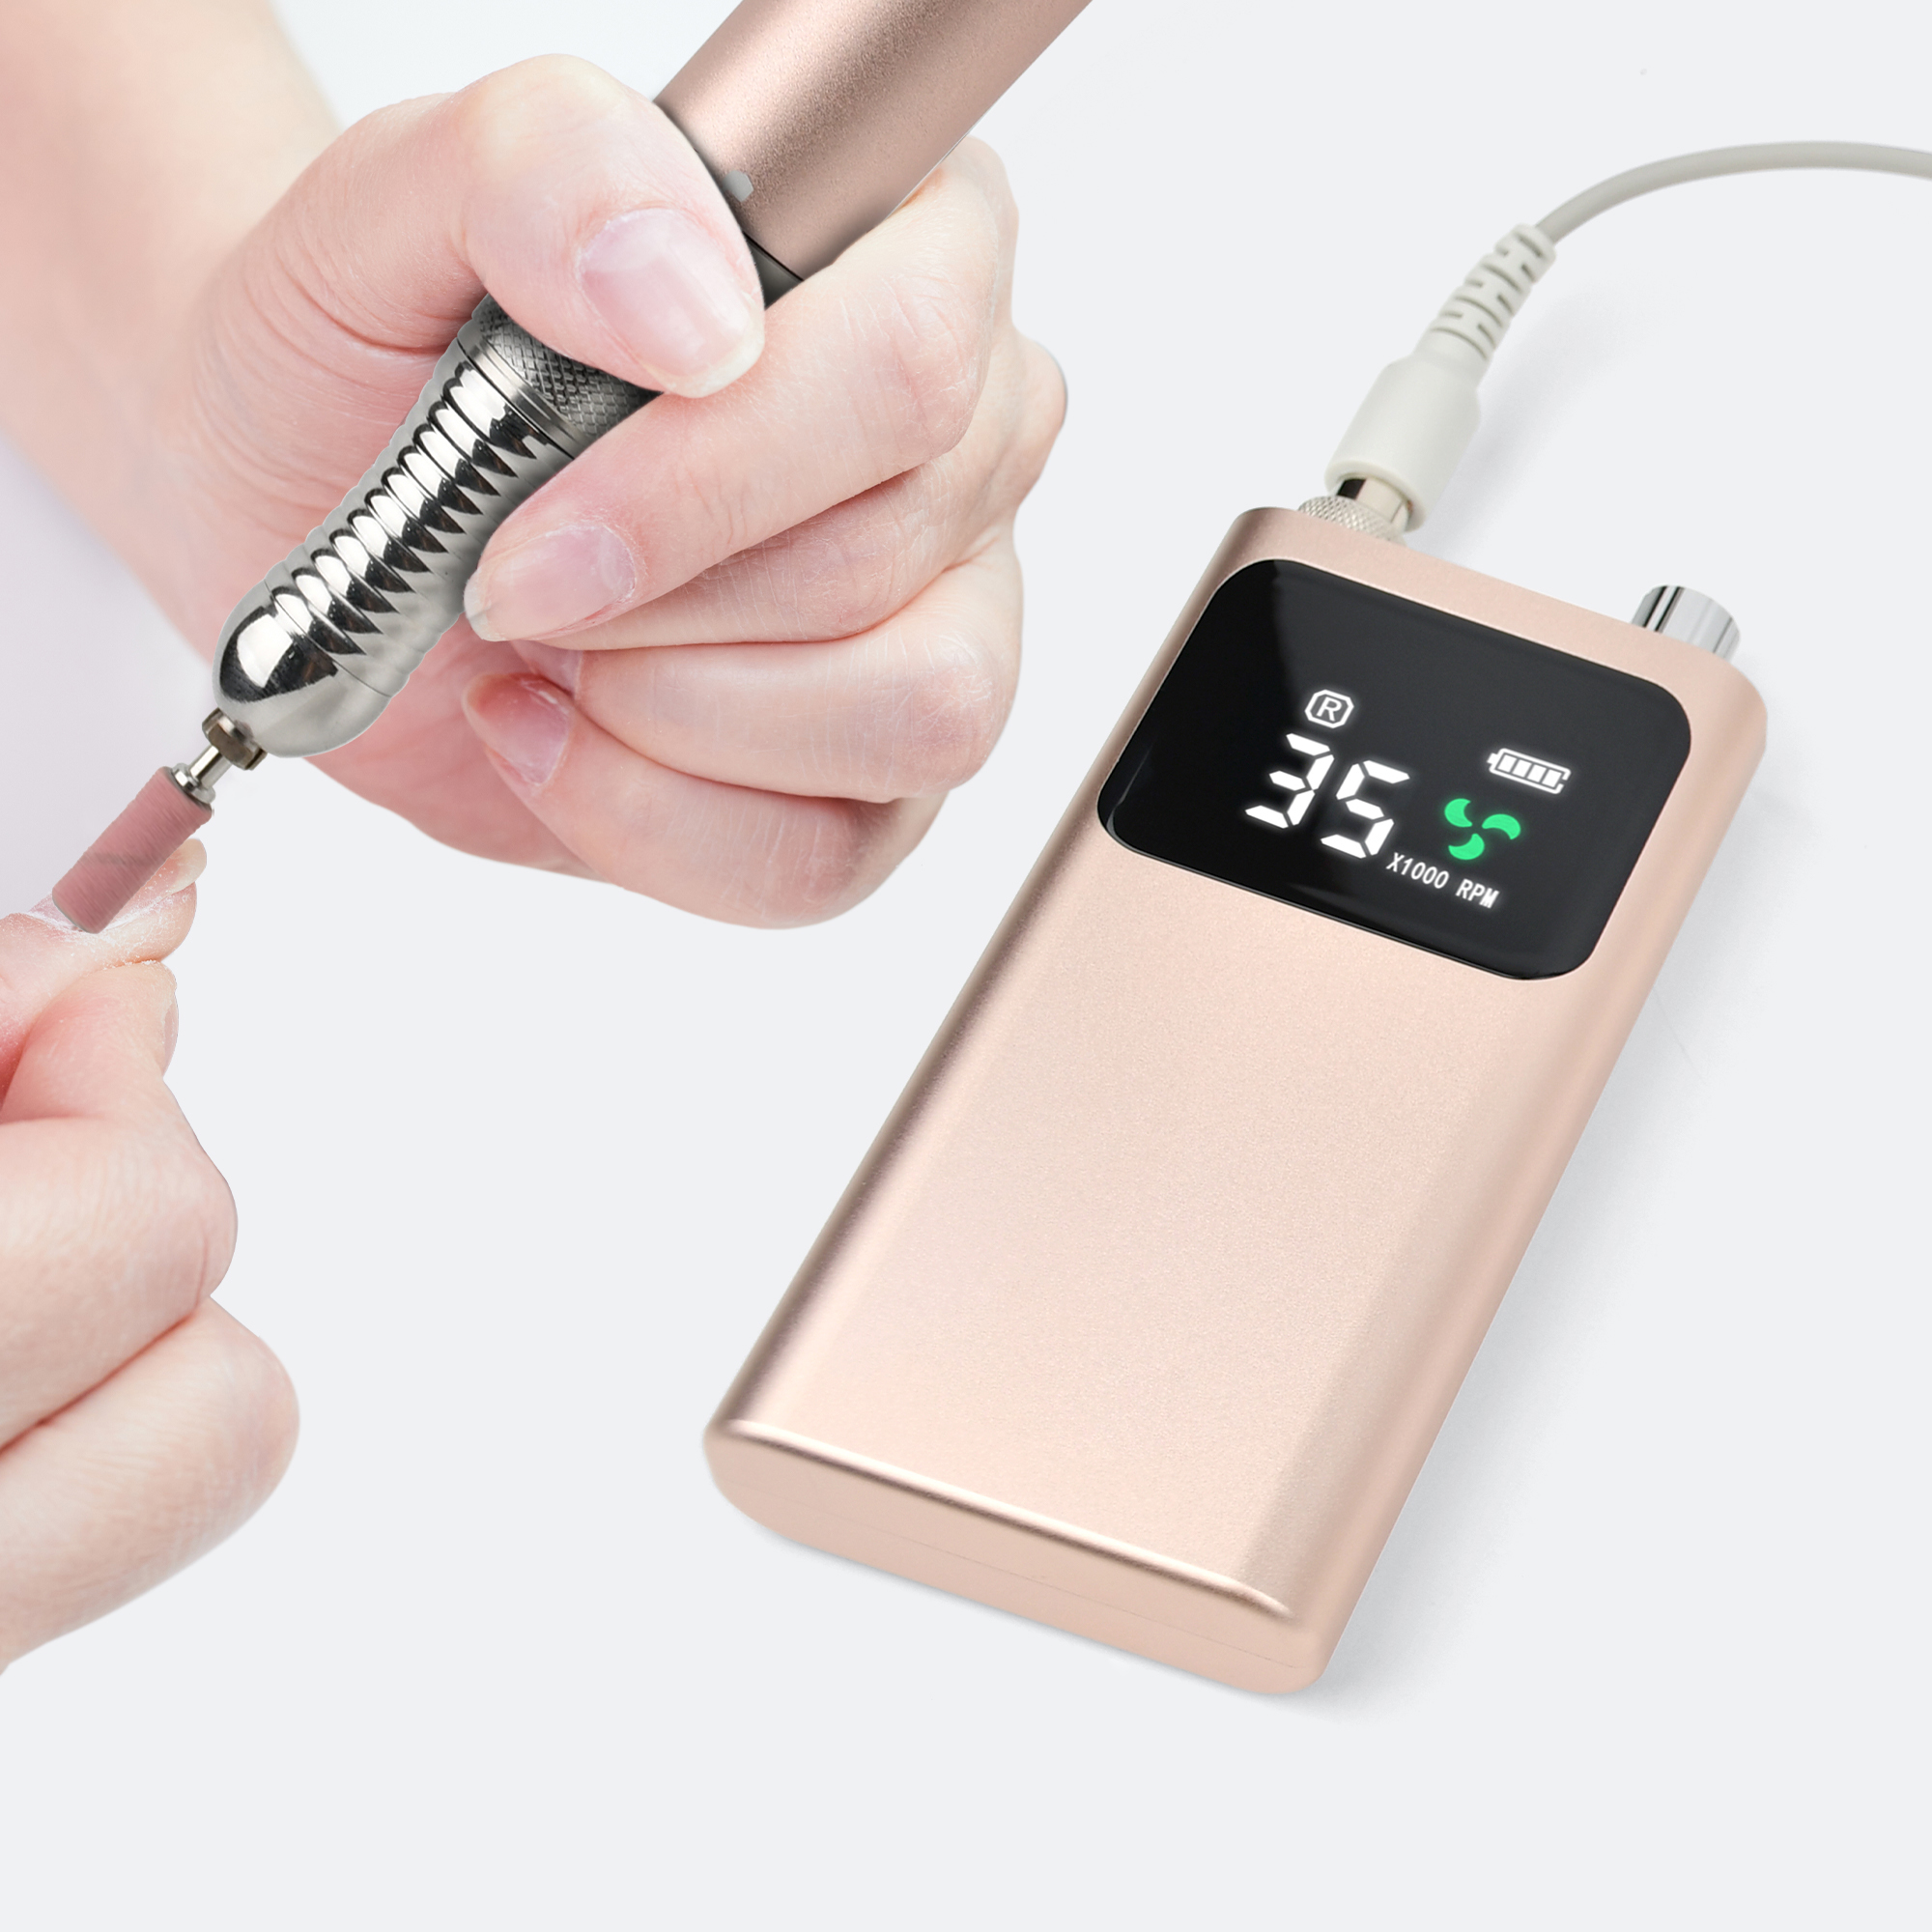
An electric nail drill, also called an e-file (electric file), is a handheld device that uses different bits to shape, smooth, prep, and remove nail products. When used correctly, it can transform your manicure routine, saving time and delivering salon-quality results at home. But without the right technique, it’s easy to damage your nails or cuticles.
Here‘s everything I’ve learned about using nail bits safely and effectively to get that professional finish.
Step 1: Understanding Nail Drill Bits
Before you even turn on your e-file, you need to know which bit does what. Using the wrong bit is the fastest way to damage your nails.
Bit Materials
Ceramic bits are perfect for beginners. They create less heat than metal bits, produce less dust, and are ideal for gentle product removal and surface smoothing. Many users find ceramic bits exceptionally beginner-friendly with their rounded safety tips.
Diamond bits are coated with diamond particles and are excellent for precision work, especially cuticle cleaning and natural nail prep. They gently exfoliate rather than aggressively cut.
Carbide bits are the heavy-duty option, best for removing acrylic or hard gel. They shave through product rather than scratching it, but they require a steady hand and experience to use safely.
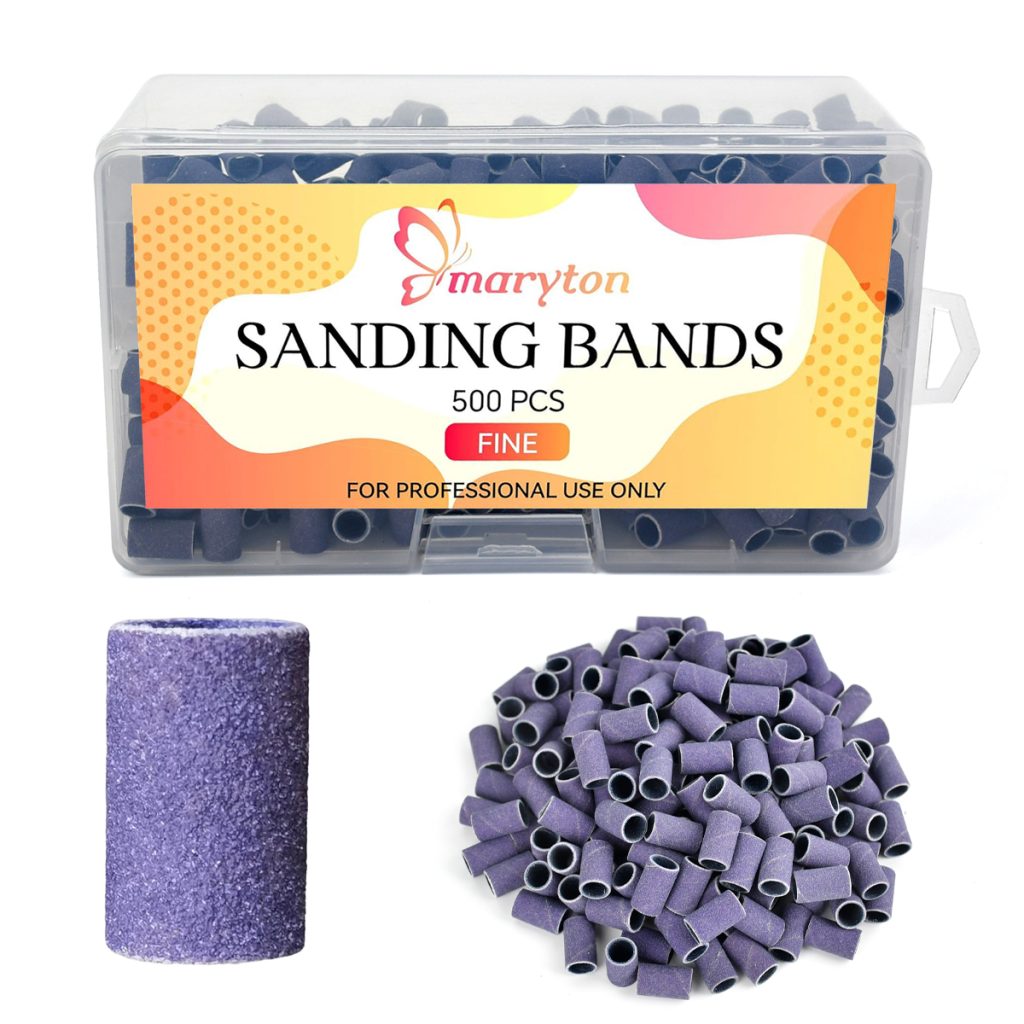
Sanding bands are disposable sleeves placed on a mandrel bit. They are the most beginner-friendly option, perfect for surface work, shaping, and gentle gel polish removal.
Bit Shapes
- Barrel bit: Great for surface work, backfilling, and shaping. Best to avoid around the cuticle area since it’s a little bulky.
- Cone bit: Slim and precise, ideal for prepping sidewalls and cleaning under nails.
- Safety bit: Features a rounded top that makes it safer around cuticles without the risk of cuts. This is the best choice for beginners.
- Flame bit: Designed for cuticle work and reducing product bulk on enhancements.
Grit Colors (For Sanding Bands)
Most bits use a simple color code: red is fine grit (natural nails, buffing), blue is medium grit (light shaping), and green or black is coarse grit (acrylic removal, heavy filing). As a beginner, stick with fine or medium grits.
Step 2: Before You Start – Safety Setup
Proper preparation prevents damage.
- Clean and Prep Your Nails
Start with clean, dry nails. Remove any old polish. Wash your hands with soap and warm water, then dry them completely. Clean nails help your bit glide better and reduce dust. Gently push back your cuticles with a wooden stick or cuticle pusher before using the e-file.
- Choose the Right Bit for the Job
For natural nail prep and buffing: Use a fine-grit sanding band (red) or a fine ceramic safety bit. Keep your RPM low (5,000–8,000).
For cuticle work: Use a fine diamond ball bit or safety cone bit. These are safe for gentle cuticle exfoliation. Set your speed to 5,000–7,000 RPM.
For gel polish removal: Use a medium grit ceramic barrel bit or a sanding band. Set your RPM to 10,000–15,000. Ceramic bits are ideal because they generate less heat and prevent burning.
For acrylic or hard gel removal: Use a carbide or coarse ceramic bit. Set your RPM to 15,000–25,000. Never use carbide bits on natural nails.
- Set the Right Speed (RPM)
As a beginner, you should operate between 5,000 and 12,000 RPM at the very most, staying under 5,000 RPM when you first start practicing. Speed matters more than people think. Too low and the bit may “jump” or catch. Too high can over-file or create painful heat. If the e-file feels shaky or too strong, reduce the RPM. And remember: never use high RPM on natural nails. Stick to 3,000–8,000 RPM to avoid damage.
Step 3: The Professional Application Technique
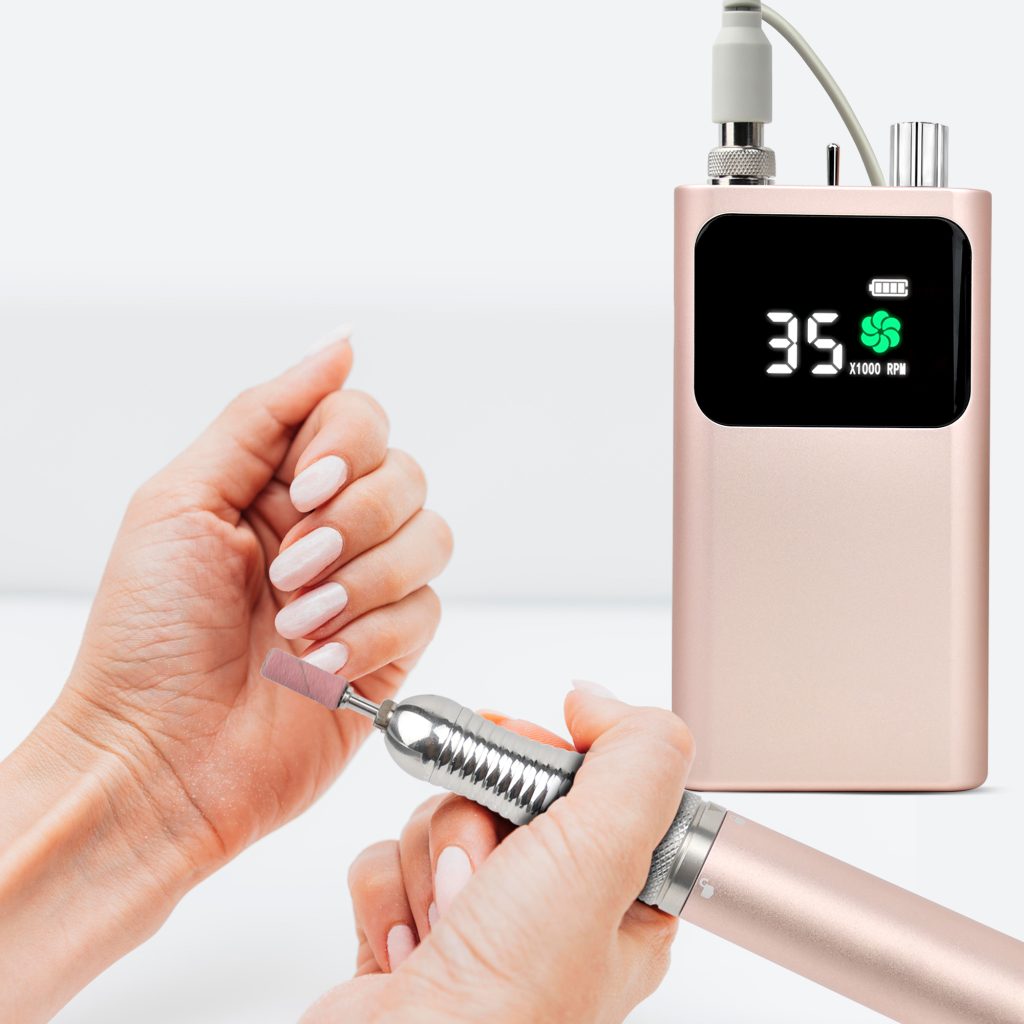
- Hold the Drill Like a Pencil
Grip the handpiece with your dominant hand. Rest your pinky finger on your other hand or on the table to create a stable anchor. Keep your wrist relaxed. A light grip gives you better control than a death grip.
- Understand Your Drill’s Direction
Most drills have a Forward (F) and Reverse (R) switch. If you are right-handed, set the switch to F (Forward) and move the drill from the right side of the nail to the left. If you are left-handed, set it to R (Reverse) and move from the left side to the right. The bit should always spin in the opposite direction of the way you move it across the nail. This provides the necessary friction to file correctly.
- Use the “Zones” Technique
Imagine a capital letter “I” on the nail. The top bar is the cuticle area, the bottom bar is the tip, and the central pole runs down the middle. Work in this order: first file the center of the nail, then the cuticle area, then the tip. Smooth the sidewalls last.
- The Golden Rules of Filing
Keep the bit moving constantly. Never keep it in one spot longer than 2 seconds to avoid heat spikes.
Use light pressure. Let the e-file do the work. If it isn‘t removing product, increase the RPM or change the bit—don’t push harder.
Work in one direction. Avoid side-to-side motions, which can cause the file to slip off the nail.
Never file down to the natural nail. Leave a thin surface layer of product to protect the nail plate.
- Finish with a Hand File
Once you‘ve carefully removed bulk with your e-file, use a hand file to shape the nail to perfection. Hand filing around the cuticle gives you the cleanest, safest finish.
Step 4: Removing Gel Polish with an E-File (Step-by-Step)
Using an e-file for gel removal is faster and, when done correctly, gentler than soaking in acetone.
Bulk removal: Using a medium-grit ceramic bit, set your speed to 15,000–20,000 RPM. Gently glide the bit across the surface of the gel polish in short, overlapping strokes, removing thin layers at a time. Stop before reaching the natural nail.
Detailing: Once the color is almost gone, reduce your speed to around 10,000 RPM for more precision around the cuticle area and sidewalls.
Soak off remaining base coat: Saturate a cotton ball with acetone, place it on each nail, and wrap with foil. Wait 10-15 minutes. Gently scrape off any remaining product with a wooden stick. Never force it.
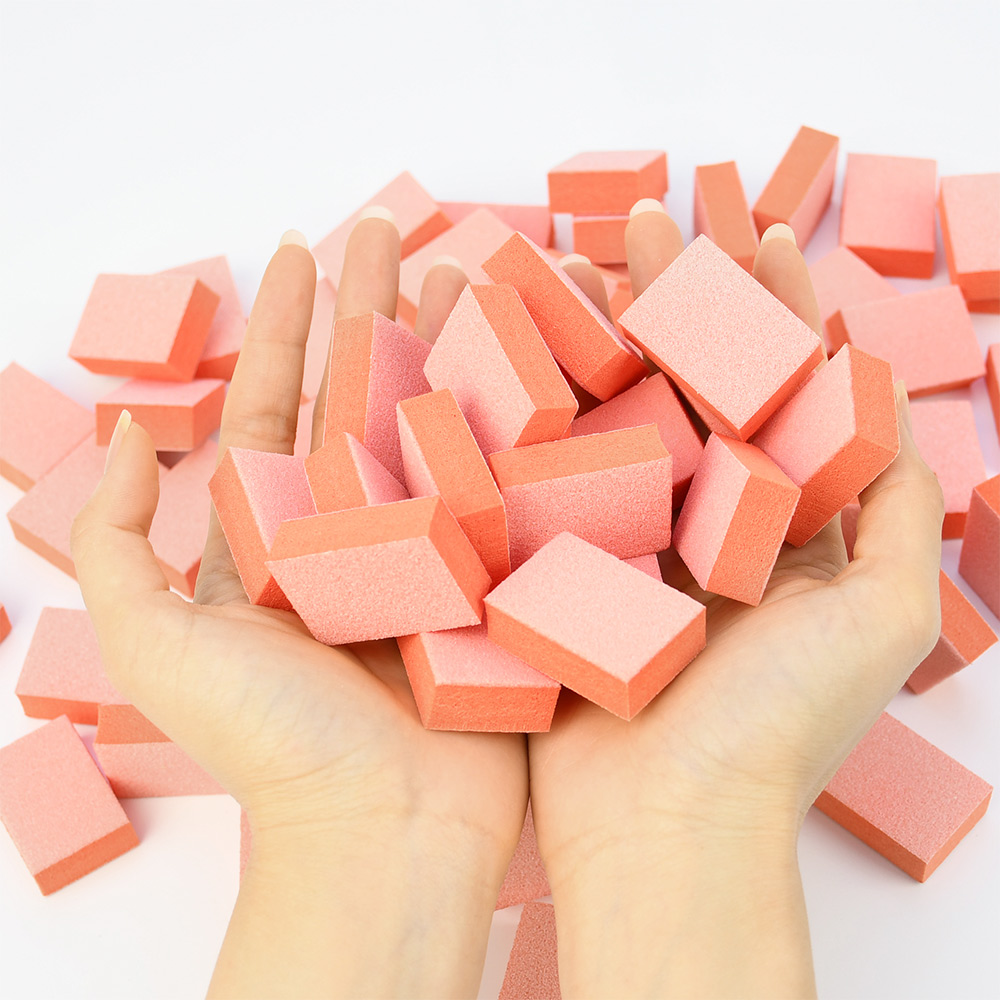
Buff and hydrate: Use a nail buffer to smooth the surface, then apply cuticle oil generously.
Step 5: Common Mistakes to Avoid
Mistake #1: Using too much pressure. The bit should glide. Pressing down creates friction, heat, and damage. Let the e-file do the work.
Mistake #2: Staying in one spot. This is how “rings of fire” happen. Keep the bit moving in smooth, continuous strokes.
Mistake #3: Using the wrong bit. Coarse bits on natural nails will thin the nail plate. Match the bit material and grit to the task.
Mistake #4: Skipping the pinky anchor. Holding the drill in mid-air reduces control and increases the risk of slipping. Always anchor your hand.
Mistake #5: Filing in the wrong direction. Always pull toward yourself and work in one direction. Side-to-side filing can make the file skip off the nail.
Mistake #6: Forgetting to clean your bits. Bits collect dust and product. Use a wire brush to clean between uses and soak them in a cleaning solution periodically to dissolve built-up material. Always ensure bits are thoroughly dry before reusing to prevent damage to your handpiece.
The Bottom Line
Using nail bits at home isn‘t about having the most expensive equipment—it’s about understanding your tools and using them with care. Start with beginner-friendly bits like sanding bands and ceramic safety bits. Keep your speed low, your pressure light, and your bit moving. Practice on fake nails first. Within a few weeks, you‘ll wonder how you ever did your nails without an e-file.
Read also: Nail Stamping: Your Guide to Salon-Quality Nails at Home